
Sidebar
Index
start:branch_admin:onlinebooking:bookingsystembutton
Booking System Button
In this tutorial I am going to show you how to import your sales data from the cloud into your POS for finalization.
Before commencing this process it is important to notes that on your Poswise system the 'allow minimise of system screen' must be set to YES.
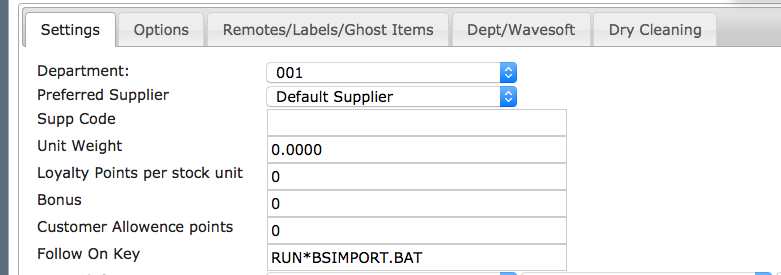
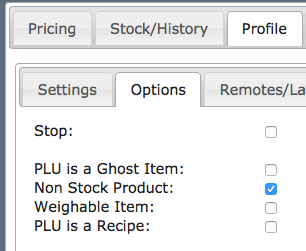
To begin log on to your cloudHQ4 account, from here you need to create a product through your back office (for assistance view Add A New Product ). When on the products screen simply enter any unused PLU code and enter “Booking System Import” into the description. In the lower half of the screen set price level 1 at ZERO, under the profile tab set the follow on key to RUN*BSIMPORT.BAT (must be in caps lock) and ensure that under the options tab the box next to ‘not stock product’ is checked. Before moving on you must also enter the department and supplier and then select add product.

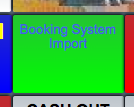
The next step is to create the button so that it can be used on your POS system. To do this simply create a button in your back office through your button editor (for assistance view Button Editor). Once on this screen locate your manager’s screen and find a place to locate your button. After you have found your place simply create your new button and name it “ Booking System Import”. From here the customization process is up to you. Once you have created your button simply click save.
After you have created your product and your button you then need to conduct a full export making sure that the product and button boxes are checked. Once the export has completed you then need to import the changes into your POS system.
Once the import is complete you then need to go to http://www.poswise.com.au/apps/bsimport/ and download and install the file for your import.
After the program has been installed you then need to return to your View All Job/Booking screen and download the file associated with the required booking and save the file in an easy to access place.
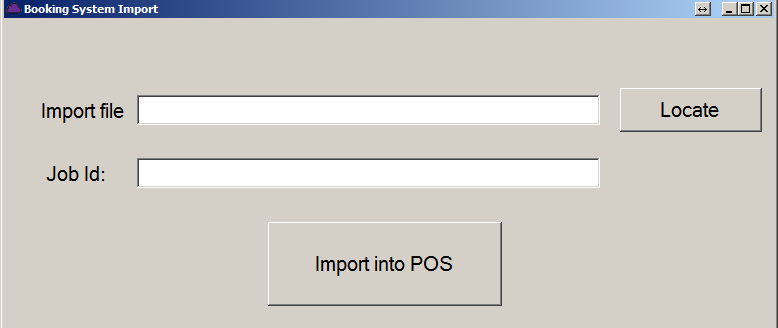
Once the download is complete return to the your POS system and click on your new button. From here the Booking System Import screen will appear. On this screen you then need to locate your downloaded file containing the sales information. After you have located the file the job ID will automatically load and then you need to click ‘import to POS’.
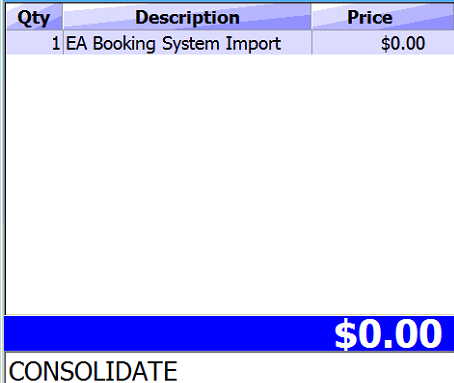
Once the import has been completed there will be a 1 second delay where it will look like nothing is happening, please wait until the 'consolidation' program has run and shortly after your products will appear on your cash screen where you can then finalize the payment.

start/branch_admin/onlinebooking/bookingsystembutton.txt · Last modified: 2016/01/15 10:46 by 127.0.0.1