
Sidebar
Index
start:backoffice:system:tenders
Tenders
In this tutorial I am going to show you how to update and edit your Tender Options.
To begin click on the Menu button located in the top left hand corner of your screen, followed by Back Office, followed by Systems and then followed by Tenders.
Once you are on this screen you then need to select the type of tender option you would like to edit.
It is important to note that you cannot add or delete tenders on this screen; you can only save or update the information.
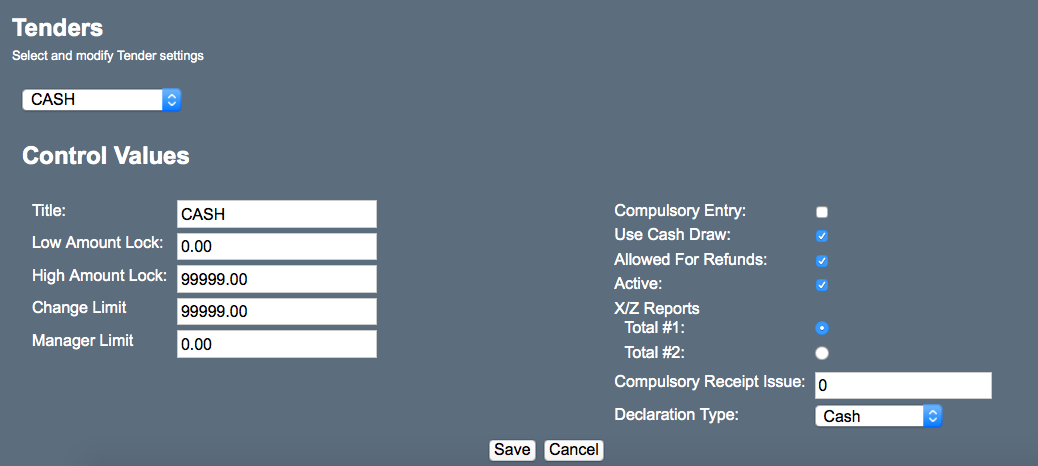
After you have chosen your required tender option all of the corresponding information relating to that tender will then appear on your screen.
Moving down the screen on the left hand side you will notice four options relating to the tender option you have selected:
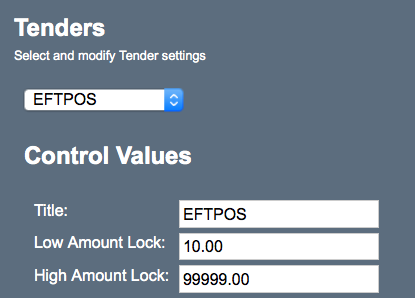
- The first of which relating to the name of your chosen tender.
- The next two options relate to the minimum and maximum amount in order for the tender action to take place. To enable this function Low Amount Lock and High Amount Lock must both have a value entered e.g. if you have a credit card that requires purchases of $10 or higher you would set the Low Amount Lock to $10.
- The fourth option relates to the maximum amount of change that can be given out through that particular tender.
Moving to the right of the screen you will notice the following 6 options:
- The first of which relates to the process of how a sale is finalised through the chosen tender. If you wish to check this box you would be required to manually input the amount of that tender given before the sale goes through. This means that if a customer buys $12 worth of your product you would have to type in the exact amount of money that has been presented to you, rather than just be able to cash off to the sale with one touch of a button.
- The second option asks whether or not you would like the cash register to open when using this tender.
- The third option relates to the ability for the chosen tender to perform and give out refunds.
- The fourth option has more relation to the Poswise software rather than the cloud software. The ACTIVE option relates to the subtotal sales screen on your POS terminal. This option must be active for the tender option to be used for sales.
- The fifth option breaks down into 2 sub-options both of which relating to where the information sits when it comes to your end of day reporting.
- The sixth option relates to automatic print out of receipts. If you wish for multiple receipts to print for that selected tender simply input a numerical value related to the desired number of receipts e.g duplicate or triplicate receipts.
- The final option relates to the declaration type for reporting purposes. The declaration type selected then categorises the tender for the end of day reports so you can analyse sales by tender.
After you have updated your tender options simply click “save.”
start/backoffice/system/tenders.txt · Last modified: 2020/02/27 12:55 by Kane