
Sidebar
Index
start:add_ons:prestashop:setupandusage
Setup and Usage
In this tutorial I am going to show you how to send items to your online PrestaShop.
Before you begin this process is it important to notes that the PrestaShop Config must be completed. If this process has not been completed please contact support.
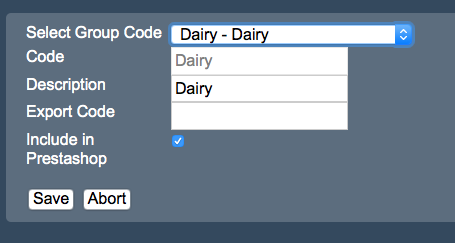
To begin your export you must select the groups and departments that you wish to add to your online store. To do this click on the menu button located in the top left hand corner of your screen, followed by back office, followed by products and then followed by groups. Once on this screen you then need to search for the group that you wish to upload. After locating the group you then need to check the box entitled “Include in PrestaShop” and then click ‘save’.
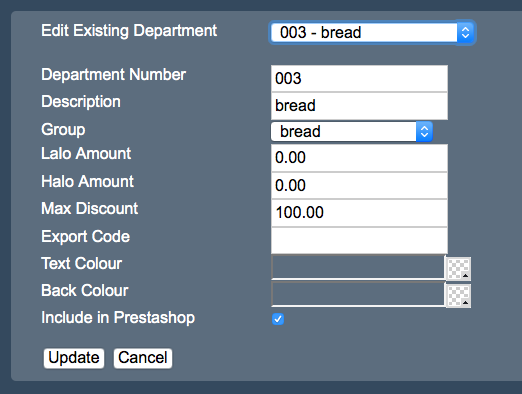
You then need to select the departments that you wish to upload. To do this click on the menu button, followed by products and then followed by departments. Once this screen has loaded you then need to search for the departments that you wish to send to your online store. After locating the departments you then need to check the box entitled “Include in PrestaShop” and then click ‘update.
Repeat this process for the remainder of your products. Once you have entered all of your products and either saved (groups) or updated (departments) the information, said information will then automatically enter the queue ready to be exported.
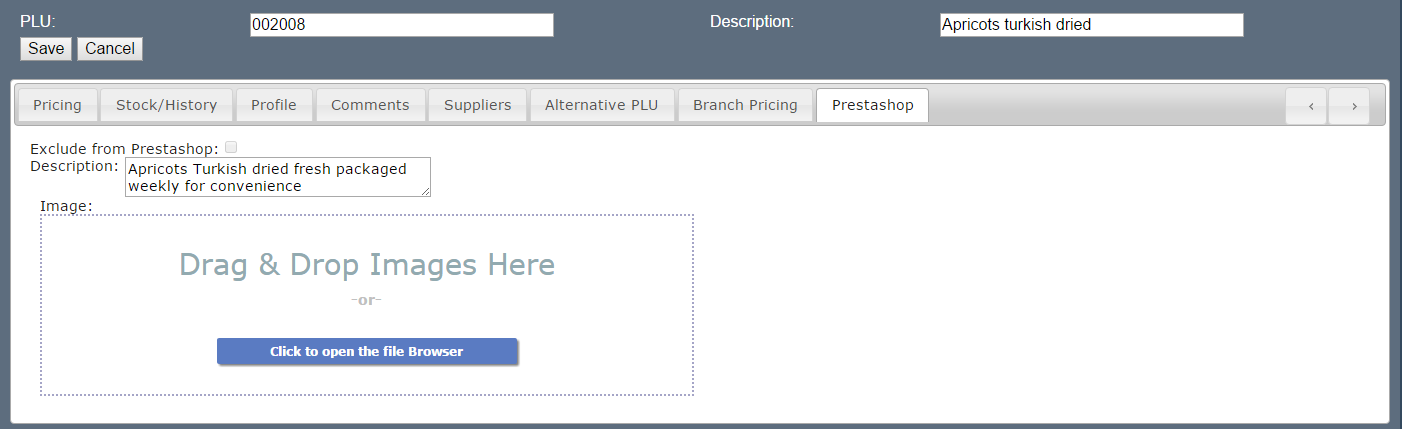
Once you have chosen the products you wish to include you then have the option to choose individual products that you wish to exclude from the export. To select these products to exclude click on the menu button, followed by back office, followed by products and then followed by products- multi branch. Once this page has loaded you will then need to search for the product wish to exclude via the PLU code. After you have located your product you are then given the option to open the 8th tab entitled ‘PrestaShop’. Once you have clicked on tab simply check the box entitled ‘exclude from PrestaShop’ and the click save.
On this same screen you also have the option to attach a description and an image to the products that you wish to upload to your online store. Once you have added your description and image ensure you click save.
Repeat this process for all of your products and click save after every new entry.
To begin the exporting process click on the menu button, followed by branch admin, followed by PrestaShop and then followed by PrestaShop Export/Import.
For exporting you are given two options those being;
- ‘since last’ allowing for everything prior to the previous export to be exported
- full export allowing for everything to be exported.
When setting up your PrestaShop online store for the first time it is required that you complete a full export with the boxes of your groups, departments, products and suppliers selects. After your initial export you can then do a ‘since last’ export with your groups, departments and products selected.
When you are ready to export simply click export. You will then be shown a screen asking you to wait while the export takes place. This process can vary in time depending on the amount of information being sent.
Once your export has completed you will then be shown another screen informing you that the data has been successfully transferred.
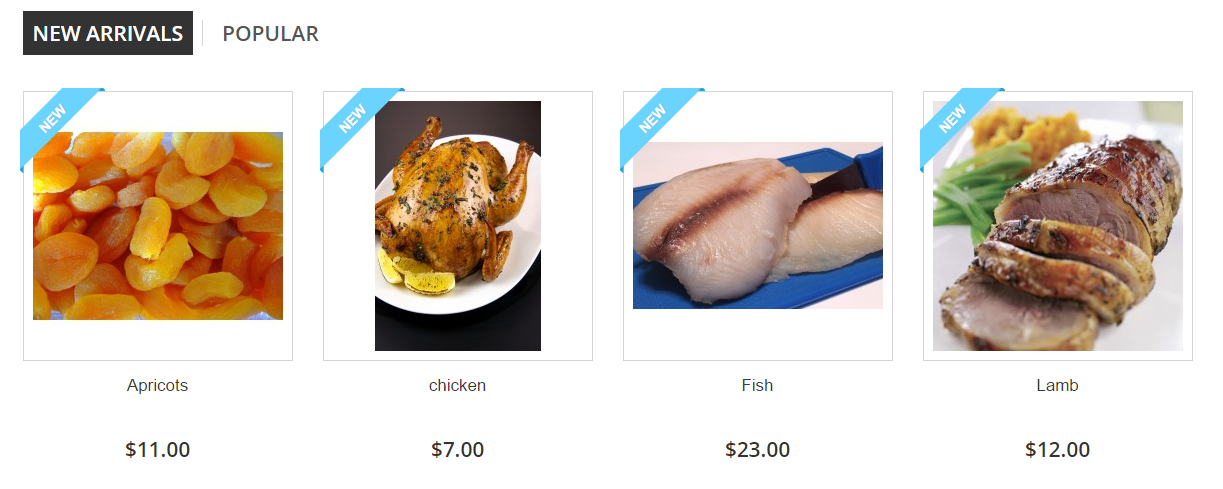
All of your product information will now be automatically uploaded to the your online store. No manual imports are required.
To import the information from your online store toCloudHQ simply return to your PrestaShop Export/Import screen. Once on this screen you have the option to import the information regarding your customers and their sales.
It is recommended that you import the customer information first, however you can import both lots of information at the same time if required.
One you have imported all of your information, said information will then be process within your reports and be differentiated as a new branch named ‘PrestaShop’.
start/add_ons/prestashop/setupandusage.txt · Last modified: 2020/05/01 15:55 by Troy